Shirini Danmarki in Oven – Danish Sweet Step-by-Step Recipe

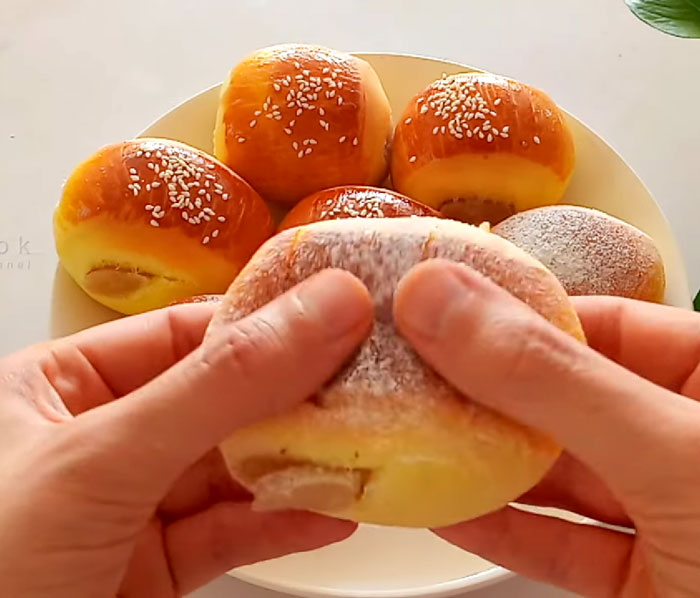
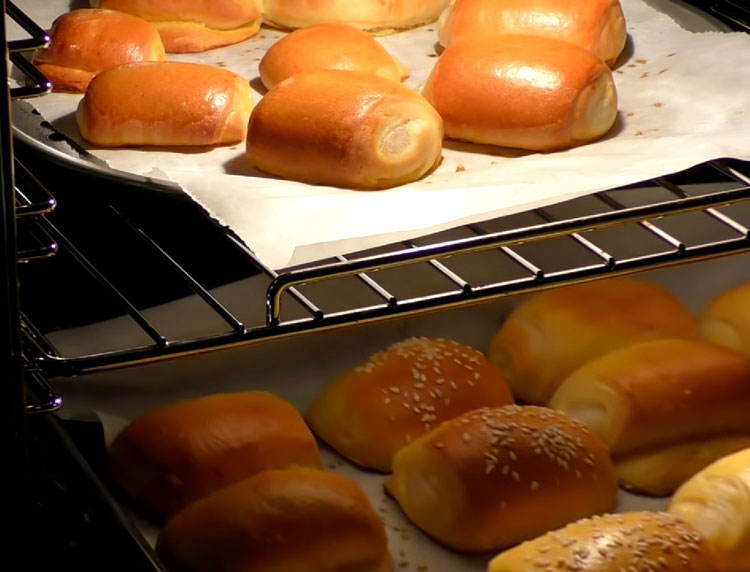
Shirini danmarki is one of Iran’s most delicious sweets for wedding ceremonies. It is one of the best-selling dry sweets in Iran. Due to its simplicity, lightness, and deliciousness, this sweet is very popular in Iran.
The origin of this sweet is from Denmark and Austrian confectioners. But in this article, we are trying to teach you an easy and simple way to prepare Danish sweets at home. So stay with Meals Cook until the end of this article.
Shirini Danmarki Cream ingredients:
| Cold milk | 1 ½ cup |
| Confectionery flour | ½ cup |
| Sugar | 1 cup |
| Vanilla | 1/3 cup |
| Rose water | 1/2 teaspoon |
Dough ingredients:
| Confectionery flour | 2 cup |
| Instant yeast | 1 teaspoon |
| Granulated sugar | 4 tablespoon |
| Salt | knife tip |
| Egg | 1 piece |
| Lukewarm milk | ½ cup |
| Liquid oil | 4 tablespoon |
Other ingredients:
| Egg | 1 piece |
| Milk | 1 tablespoon |
| Vanilla | ½ teaspoon |
Instruction:
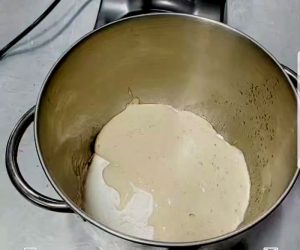
1. To prepare shirini danmarki cream, you must mix all the ingredients needed to make the cream and then mix it with a hand mixer until it is uniform.
but you should note that the milk must be completely cold so that the flour does not lump. After mixing, if the flour is a little lumpy, you can pass it through a sieve.
2. We put it on low heat and stir well for about 15 to 20 minutes. This constant stirring on low heat is very important, so don’t be lazy at this stage so that the cream reaches the consistency. Cover it with nylon and set it aside to cool.
3. Now, it’s time to make shirini danmarki dough. First, we sift the flour well. Then, mix all the dry ingredients needed to prepare the dough with the flour.
In another bowl, mix the lukewarm milk with the egg that has reached room temperature and mix with a hand mixer, then add to the other dry ingredients.
4. Now, mix them with a whisk, and then shape the dough with the help of our hands. If needed, we add 1-2 spoons of milk.
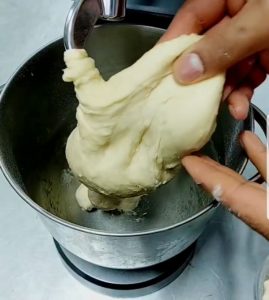
We knead the dough for a minute with an electric mixer, add liquid oil, and knead it again for another 3-4 minutes. The dough should not be too loose or too hard. The dough should be enough elastic and sticky.
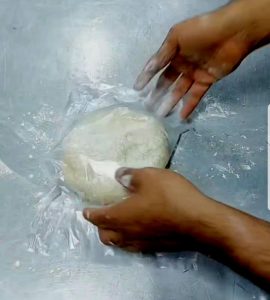
5. Now, take the dough and hit it on the kitchen board with our hands until 1 pat of sticky and uniform dough is made. Then, we cover it with greased nylon and let it rest for 15-20 minutes at room temperature.
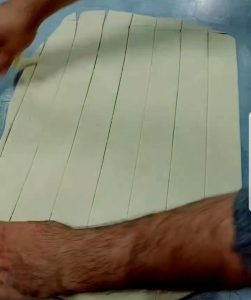
6. After resting, turn the dough over and open the dough with the help of your hands, and then use a rolling pin to spread the dough from all sides until it is 3-4 cm thick.
Then, cutting the dough as shown in the picture. Cut the dough into small rectangles using a cutter, as shown in the picture.
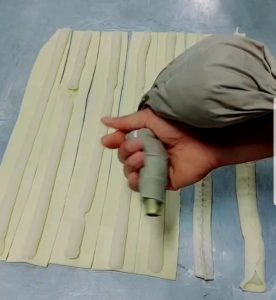
7. At this stage, we go to the cream we made before and pour it into a disposable funnel and cut off its head, or use a simple nuzzle and pour the cream on the dough as shown in the picture.
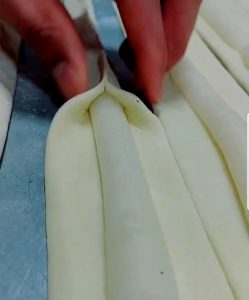
After pouring the cream on all the dough, we stick the two sides of the dough together with our hands and press them until they stick together.
This part of the work is very important because if the doughs do not stick together, they will separate after putting them in the oven.
8. Now, turn all the dough, arrange them together, and cut them to the same size with a cutter, as shown in the picture.
So, we use a fireproof sheet, put it on the bottom of the oven tray, and place the dough on it at the same distance (if you don’t have a fireproof sheet, don’t use greaseproof paper because the dough will stick to it) and cover the tray with oiled nylon and let it rest for 45 minutes again.
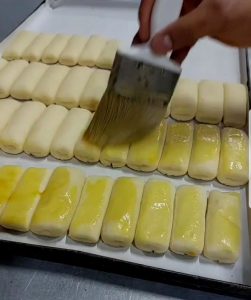
9. At this time, we prepare the ingredients we need for the top of the pastries. For this, we mix the egg, milk, and vanilla together and mix it.
After 45 minutes of resting the dough, we applied it once on the pastries, using a brush, and let it rest for 2 to 3 minutes, then we repeated this again. This will make the sweets very colorful.
10. To make the sweets more beautiful, sprinkle sesame seeds, sunflower seed kernels, almond slices, coarse granulated sugar, or anything else you like.
Remember to preheat the oven to the appropriate temperature, as mentioned below, for half an hour.
11. After the time suitable for your oven has passed, your shirini danmarki is ready. Take the sweets out of the oven, put them in the desired dish, and enjoy eating them with Persian tea.
Related: Persian walnut cookie.
Necessary tools for preparing Shirini danmarki:
Electric oven: 170 degrees
Gas oven: 190 degrees
Toaster, Solardom, and microwave oven: 160 degrees
The middle floor should be heated for 20 to 25 minutes.
In electric ovens, toasters, etc., the top and bottom elements and the fan should be on or for the bottom element and the element around the fan to be on simultaneously.
Cook in a gas oven for about 20 minutes; after 2 minutes, grill until the pastry is colored.
Related: shirini pofaki.
A Danish pastry (Danish: wienerbrød [ˈviˀnɐˌpʁœðˀ]) (sometimes shortened to just Danish, especially in American English) is a multilayered, laminated sweet pastry in the viennoiserie tradition. The concept was brought to Denmark by Austrian bakers, where the recipe was partly changed and accommodated by the Danes to their liking, and has since developed into a Danish specialty. Like other viennoiserie pastries, such as croissants, it is a variant of puff pastry made of laminated yeast-leavened dough that creates a layered texture.
You can also read Persian sweets calories.
Conclusion
This article taught you how to prepare a very simple and widely used sweet in Iran. A sweet that will be served to you if you go to an Iranian wedding or a Nowruz Eid party. I hope you bake Shirini Danmarki and enjoy it.
If you have another way to prepare sweets, please leave a comment, and I will prepare the recipe in the next few days.




Hello dear
I have a problem with the flour for making shirini danmarki
I have corn flour instead of confectionary flour.
Can I make this pastry?
No, you must use pastry flour to make shirini danmarki
And this flour is usually everywhere in shops